How (and Why) To Compress K4 Packs for Day Hunts
All of our K4 Packs are intentionally designed to provide the most versatility possible. Even our largest bag, which is built for extended backpack hunts, is capable of compressing cleanly and functioning efficiently for short day hunts.
(Side note: If you are looking for information on multiday backpack hunts, visit How To: Load Your Pack for a Multi-Day Backpack Hunt.)
In The Field Example
In the video below, Mark demonstrates how he loads his gear for the day when hunting out of a backcountry basecamp during a spring bear hunt. You can see how he compresses his pack, as well as how he strategically places his gear for quick and efficient access throughout the day.
Step-by-Step
For a more detailed demonstration of compressing K4 bags, Steve dives into the step-by-step process here...
Why It Matters
The performance of your pack is not only influenced by how it fits you, it is affected by how weight is loaded in the bag, or on the frame. As you compress the pack, you are ensuring that the bag's contents are kept closer to your back, and are not sinking to the bottom of the bag. Even lighter loads will be more comfortable when the weight is kept closer to your body and placed in the mid-to-upper portion of your back.
Additionally, compressing your pack will create a smaller profile, preventing unwanted noise, hang-ups, and abrasion as you are hunting — especially if you are hiking off-trail.
Not only are all of our K4 Bags designed to compress cleanly, they offer efficient access when they are at their compressed size. The front stretch panel and lower side stretch pockets are great places to store smaller items when our bags are compressed. And the bag's main storage area is easily accessible via the front zipper access.
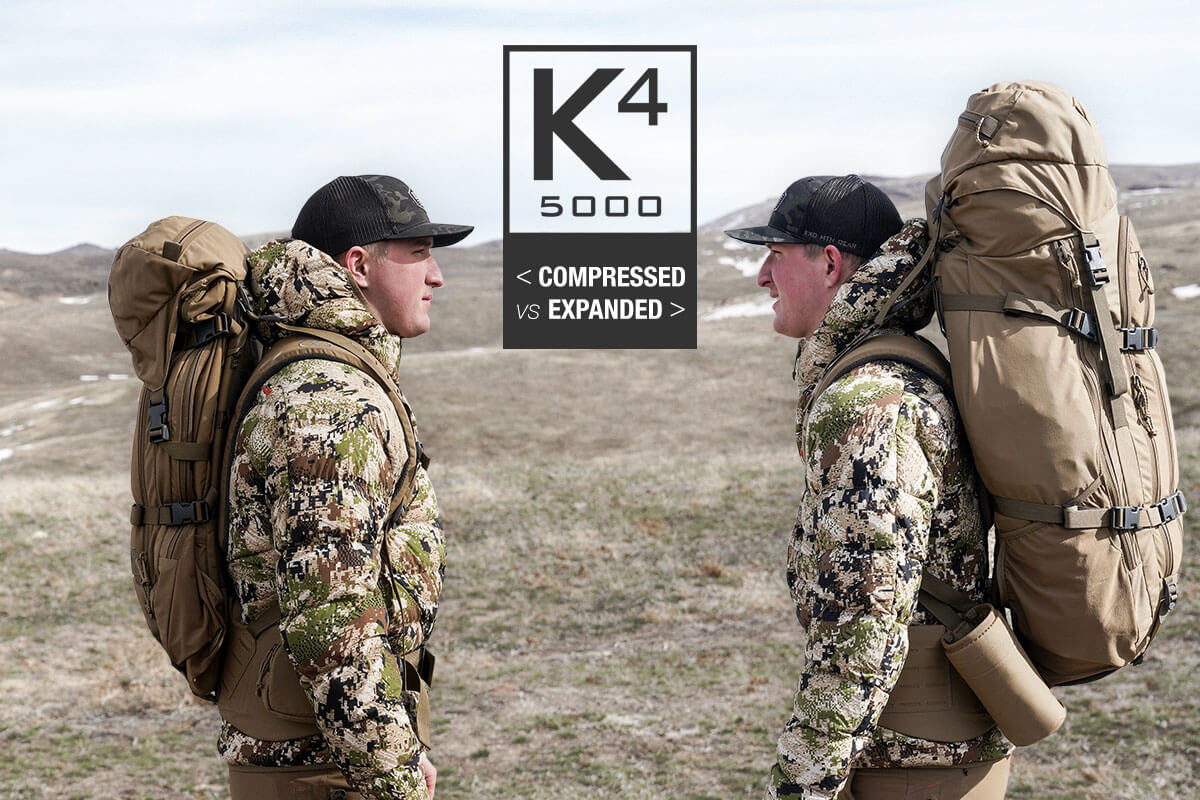
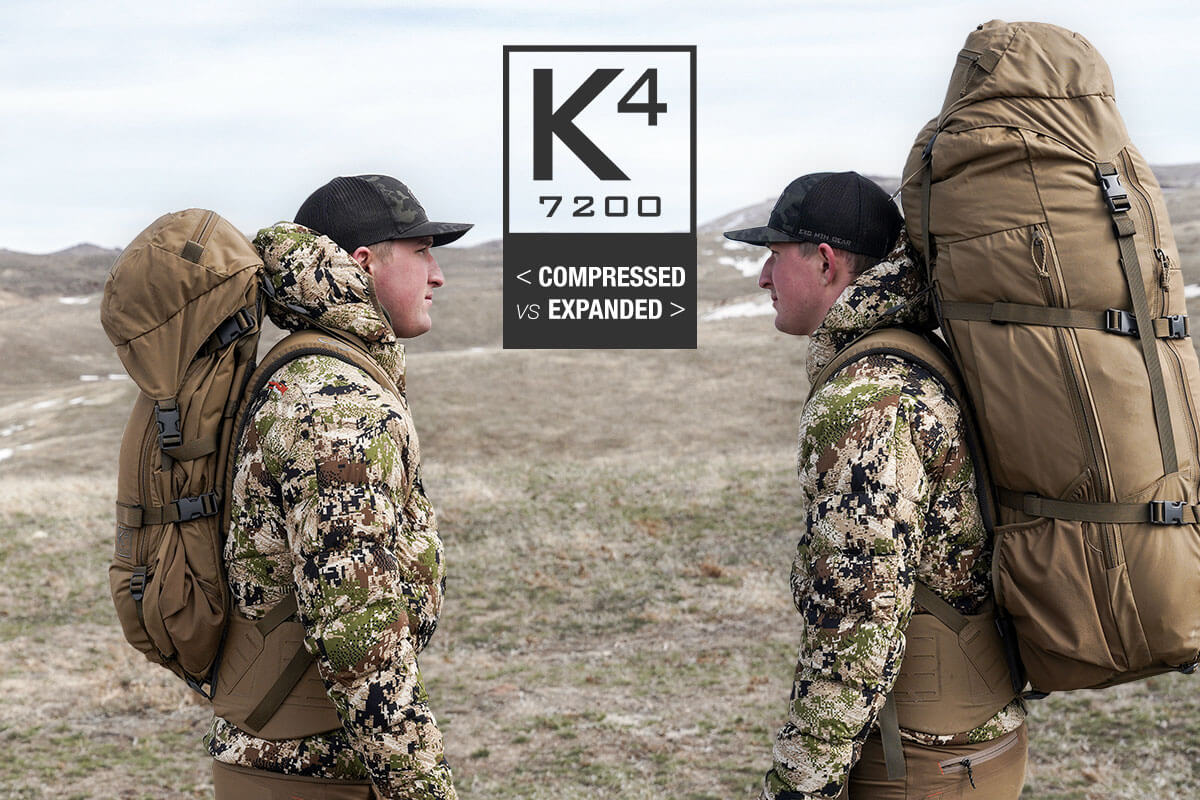
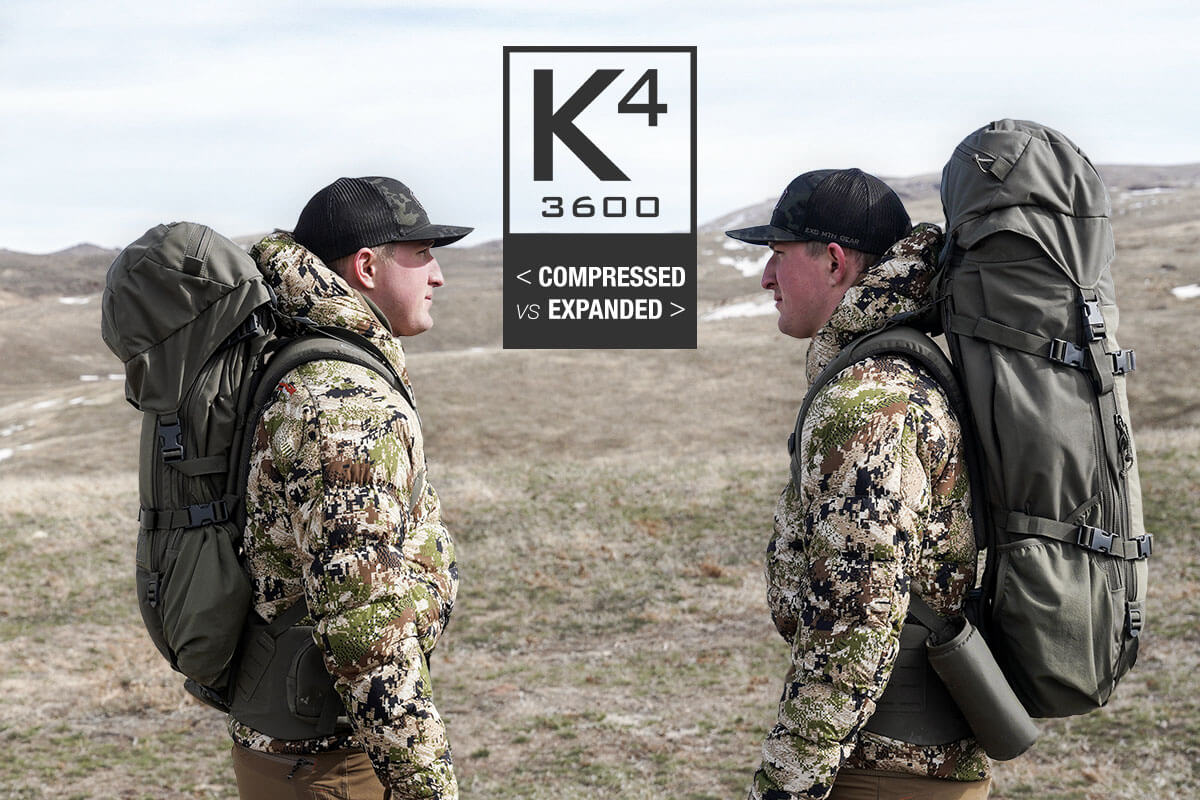
Check out our K4 Pack Comparison page to see how each of our K4 Pack models look, and compare to one another, when they are expanded and compressed...