
"I would love to see some how-to videos based on your real use of the pack in the field. For example, when coming up to a glassing knob, what is your process for quickly and efficiently getting set up to glass and avoiding a yardsale with all your gear? I think that would really help me understand the minutiae of the pack design and how to be as efficient as possible in the field."
We received that email from Patrick, one of our pack users and podcast listeners. And it is a great suggestion!
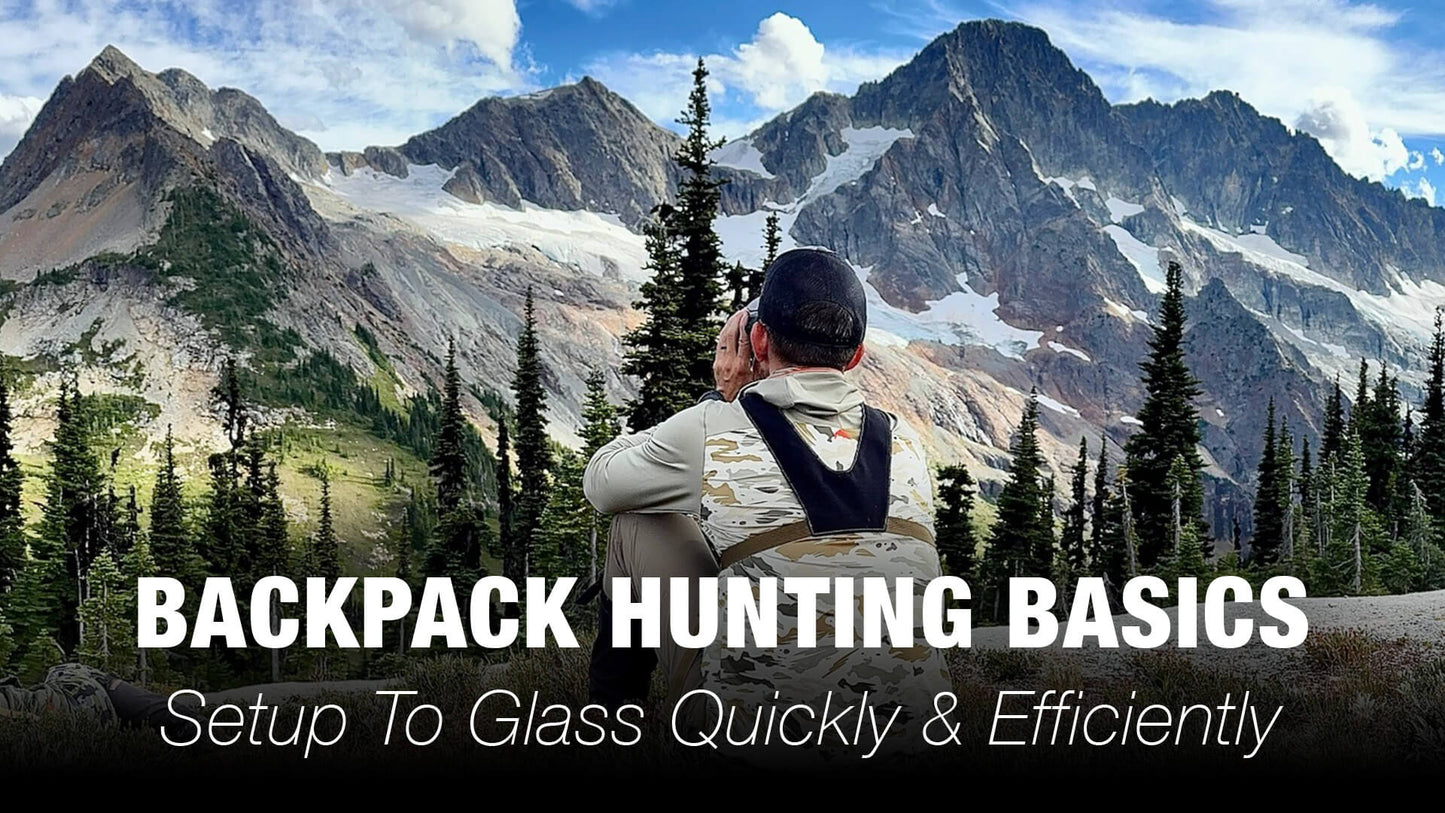
In the video and article below, Mark demonstrates exactly what Patrick asked about. If YOU have questions or suggestions for a topic you’d love to see us cover, reach out and let us know.
PRE-PLAN & PACK SMART
All of our bags are designed thoughtfully and intentionally — to provide versatility and efficiency for backcountry hunting. We obsess over every stitch and square inch of how our bags are laid out. But a bag’s design is only one half of the equation. The other half is you. Where do you put your gear? How do you load your bag? What goes where, and why?
The simplicity, speed, and efficiency that Mark demonstrates above is half bag design, and half user behavior.
Hunting efficiency is the result of loading your pack with purpose and consistency.
On any and every hunt, pay attention to the small things. What gear needs to be accessed quickly? What gear is "in the way" of something else? How does it change if you are hunting bears with a rifle in the spring vs chasing bugling bulls with your bow in September?
You will learn what works for you, and how it changes based on hunt context.
TRIPOD & SPOTTING SCOPE ACCESS
Our tripod is always going to sit in the lower side stretch pocket and be secured at the top by one of the pack’s upper compression straps. With this setup, retrieving or storing a tripod is quick and quiet.
That upper compression strap is a great spot to consider using a K4 Locking Buckle — especially with larger tripods. And as Mark demonstrated in the video, the lower compression strap is not needed to keep the tripod secure, we recommend passing that compression strap behind the tripod and the lower side stretch pocket.
All of our K4 Bags have a generously-sized full-length side pocket on both sides, which is great for spotting scopes or other long items (such as tent poles). Whether you are using an ultra compact 55 or a full-size 85+ spotter, the full-length side pocket gives you security and easy access for your spotter.
When carrying a rifle, we will keep the tripod and spotter on the same side of the pack, to help offset the weight of the rifle and increase load balance and stability in the pack. When archery hunting and having a bow strapped to the center of the pack, we typically put the spotter in the full-length side pocket of one side of the pack and then offset that weight with the tripod on the other side of the pack.
SIT & STAY WARM
If your glassing session will last longer than a few minutes to quickly put your eyes on an animal, then you will often want to get a bit more comfortable.
As demonstrated above, Mark uses a small sit pad that he keeps in the pack’s front stretch pocket for quick access.
To stay warm when stationary, it is helpful to strategically place a clothing layer near the zip access of the pack’s main compartment. In colder weather, this may be your down insulation jacket. In milder weather, a light fleece or ultralight wind shell is perfect to stay warm when you go from hiking to glassing.
By keeping these items packed strategically, you can quickly sit and stay warm on every glassing session.
TAKE A BREAK
For longer glassing sessions or purposely-timed breaks on your hunt, you will often want to access some food, water, stove, or other essential items (battery bank, InReach, etc).
When laying the pack down next to you as you glass, the K4 Lid’s zippers are in the perfect position to provide easy access to the day’s food bag (you are packing a food bag for each day, right?), your backpacking stove, and a K4 Stash Pocket that is clipped into the lid and contains the smaller essentials you need to access throughout any given hunt day.
REPEAT IN REVERSE
When your glassing session ends and it is time to start moving, just reverse this process and you’ll be on your way quickly. Food and other essentials in the lid. Layer in the main bag, via the front zip access. Sitting pad in the front stretch pocket. Spotting scope in the full-length side pocket. Tripod quickly secured to the side of the bag.
Quickly packed-up and on the move...