
There's more than one way to skin a cat, or in this case, to tune a bow. Each tuning method has the same purpose and leads towards the same result — perfect arrow flight. An arrow flying out of a properly tuned bow is imperative for accuracy, consistency, effective broadhead flight, and even to maximize penetration on animals. All of these things are high on the list of importance for bowhunting.
Surely one of the many tuning methods is better than the others, right? The answer to that question depends on who you ask. In light of that, I'm going to cover what I believe are the most popular ways to tune a bow below. At the end of it, you should have a much clearer path to getting dialed-in before your next hunt.
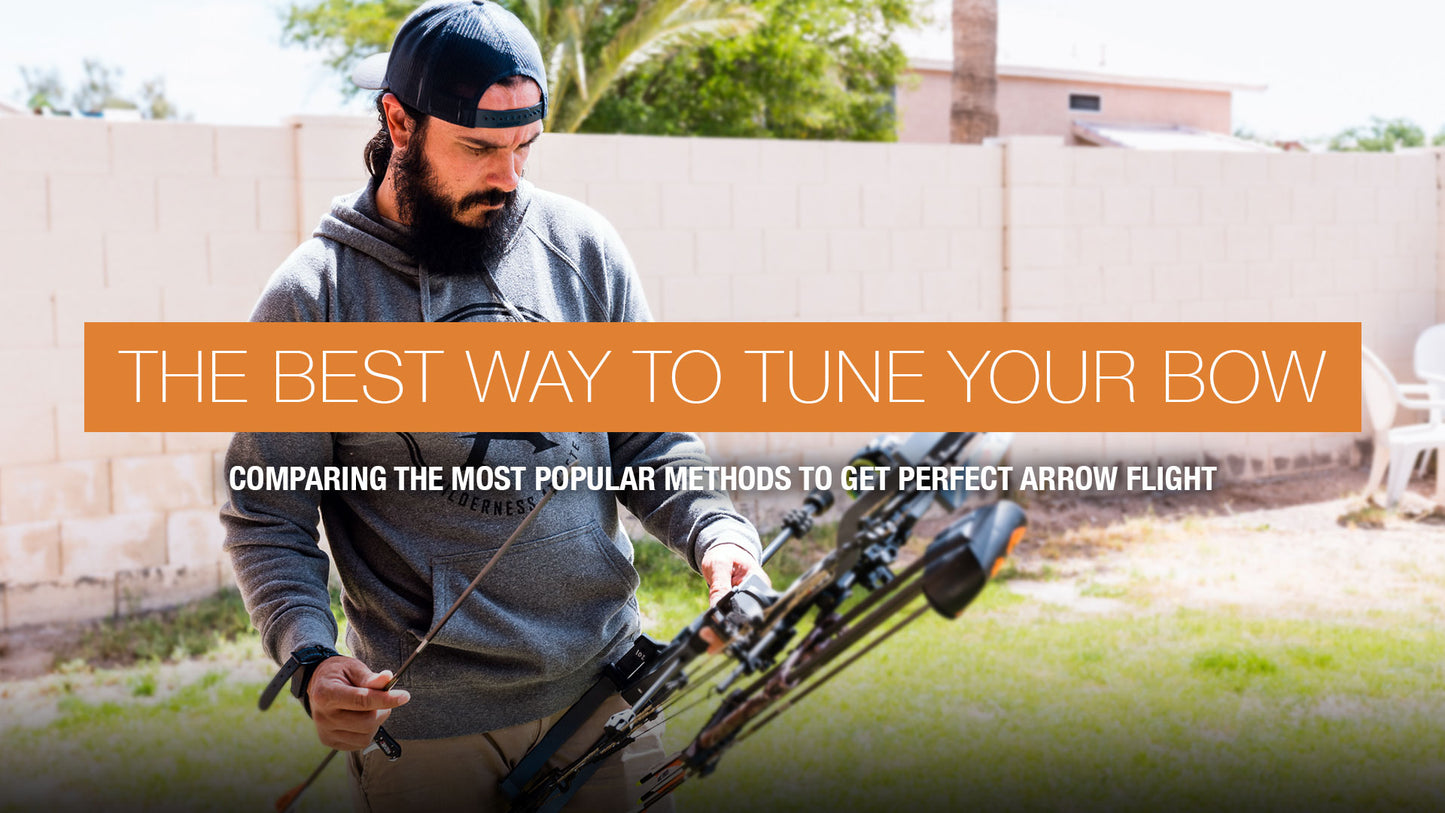
Before You Tune
Before we start breaking down these different tuning methods I want to stress something. While the tune of our bows definitely impacts arrow flight, it isn't the only variable to account for. The wrong arrow setup, improper bow fit, and poor shooting technique will compromise arrow flight out of a “tuned” bow. Before you get serious about tuning, you need to make sure — to the best of your ability — that your bow setup (draw length, draw weight, etc.) is sound and that you are shooting a properly spined arrow.
Right alongside the equipment end of things, make sure that your shooting abilities provide the consistency and accuracy needed to judge the capabilities of your bow. If that means getting an archery coach, then I'd highly suggest you do so. It'll pay off big in the end. Sometimes we are the biggest wild card to consider and are nowhere near as capable as our equipment is.
Paper Tuning

If there was a title for the most popular way of tuning a bow I'd have to give that title to paper tuning. Paper tuning is just what it sounds like — a shooter fires an arrow through a sheet of paper that is suspended in place by some sort of frame to hold the paper with tension. That frame is placed a few feet in front of a target. Shooting through the paper sheds light on whether the arrow is in fact flying straight out of the bow. If it is, you'll see what is often referred to as a perfect “bullet hole”. If the arrow is flying with any misdirection, then the paper will show a directional “tear” instead of a bullet hole.

Paper tuning diagram courtesy of Easton Archery's Tuning Guide (PDF)
The amount and direction of the tear will tell you how to tune the bow to get the perfect bullet hole. The most common and user-friendly, way of addressing a tear is to make very slight adjustments to the arrow rest of the bow. Only very small adjustments are often needed, which is one of the many benefits of using a micro-adjustable arrow rest.
- Nock Left Tear: Move rest to the right
- Nock Right Tear: Move rest to the left
- Nock High Tear: Move rest up
- Nock Low Tear: Move rest down
Note: A sight adjustment will be required after you move your rest.
There are other ways to influence the tear, including twisting/untwisting cables, stiffening/weakening arrow spine, decreasing/increasing draw weight, adding/taking away point weight, and adding/taking away tail weight to name a few. It gives a person options that can cater to their own personal goals with their setup.
If an adjustment to your rest doesn't provide the expected results and you continue to see a consistent tear pattern, then you likely have other issues to deal with — such as an arrow spined improperly for your bow setup, or a shooting form issue, such as improper grip and “torque” applied to the bow. If that's the case, your best bet is to work with an archery pro shop to evaluate what may be going wrong.
Josh's Take: Paper tuning is a great tuning method overall, no matter a person's experience level. If you're a beginner, though, I'd highly suggest having someone experienced there with you to aid in the adjustments, while making sure you are exhibiting consistency on your part as a shooter.
Walk Back Tuning or French Tuning

Before you begin: Make sure your bow is sighted-in and that your sight's 2nd axis is calibrated before you try this tuning method.
Walk Back Tuning and French Tuning are what I'd call the most user friendly of the tuning methods we'll go over here. Both of these are incredibly similar, which is why I lumped them together. They are both doing essentially the same thing, in the same way.
Walk Back Tuning is where a person shoots an arrow from 10-20 yards at a target with a vertically placed piece of tape running from top to bottom and moves back incrementally 10 yards at a time. The whole time aiming at the same dot with the same pin. Make sure your top pin is sighted-in perfectly to this dot. The logic here is to show left/right variance gradually as the arrow falls and one moves back. The goal is getting no variance at all in the end.
Remember, you are using the same aim point and the same sight pin the entire time. As you move back in distance, your arrows will hit lower. We are concerned with the horizontal direction (left or right) those arrows are moving, not with height.
These adjustments are all done with the arrow rest:
- Arrows gradually moving left ( / ): Move rest slightly to right
- Arrows gradually moving right ( \ ): Move rest slightly to the left
Note: A sight adjustment will be required after you move your rest.
French Tuning is a more condensed and efficient way of Walk Back Tuning. You'll start with a target placed at 3 yards and aim at the bullseye with your 50 yard pin. This should put you dang near center of the dot. Your arrow needs to be hitting absolutely dead center before the next step. If that means moving your sight a smidge, then do it. Be picky here. Once it's good, it's time to move on.
From there, move the target out to 50 yards and take another shot. If there is a left/right variance move your rest slightly in the opposite direction of the variance, just like you would with walk back tuning. After doing so, you'll have a minor sight adjustment to get back in the center at 3 yards. Do this until you're in the center at both 3 yards and 50 yards.
Josh's Take: Personally, I think these are the best methods of DIY tuning for beginner bowhunters.
Bare Shaft Tuning

Bareshaft Tuning has been getting a lot of attention in recent years and it's for good reason. There is no better way to tell if an arrow is flying straight than to take off “the training wheels” that help make your arrows fly straight, which are the arrow's fletching or vanes. Since vanes help correct arrow flight, removing them will reveal how an arrow flies without “correction”. You bare shaft tune through paper, but I am going to go over “group tuning” with bare shafts in this article.
Group tuning with bare shafts is where one shoots both fletched shafts and bareshafts together at the same dot in order to show any variance between the two. Before trying this, you need to have your fletched shafts grouping well together. Once they are, stand at 20 yards and shoot a fletched shaft followed up with a bare shaft. In a perfect world, they'll be in the same dot hugging together. If that's the case, you're good to go. If not, here's what you do to make that happen:
Make VERY small adjustments (1/64" to 1/32") to the arrow rest...
- Bare shaft hitting left of fletched shaft: Move rest left
- Bare shaft hitting right of fletched shaft: Move rest right
- Bare Shaft hitting high: Move rest down
- Bare Shaft hitting low: Move rest up

As with the other methods that require you change the position of your rest, you will need to adjust your bow site after making changes. As long as the bare shaft and fletched shaft are hitting together though, you've succeeded. And just like paper tuning there are other ways to influence the flight of a bare shaft other than the rest. Adjusting draw weight, cutting arrow length, adding point weight/taking away point weight, etc.
If after making these adjustments the two arrows are not coming together, you could have something else going on. For instance, if a bare shaft is hitting right and you can't get it to move closer to your fletched arrow, this indicates a weak arrow spine and the opposite is true for hits to the left. And up/down variances could mean there is a cam timing issue or even nock pinch going on.
Josh's Take: Bare shaft tuning is a good method for more experienced shooters and the most precise of the methods we've discussed. Proper form and technique are critical to get good results here.
Results > Method

Like I said at the beginning of this article, there is more than one way to skin a cat. There is a lot of information out there saying that one type of tuning is THE best way, but I believe that you need to find the best way for YOU. Not for “Johnny Internet.” It doesn't matter if someone spent 10 minutes paper tuning or several hours doing intricate tuning methods — if the end result is that a bowhunter is smacking the X consistently with a broadhead, that's what really matters. The target or animal isn't going to know the difference. Dialed is dialed.
Josh Kirchner is the author of the book, Becoming a Backpack Hunter, as well as the voice behind Dialed in Hunter, a blog that not only documents his own journey, but provides gear reviews, tips/tactics for western hunting, and encourages other hunters to chase and achieve their goals. Josh is a passionate bowhunter that has been hunting with his family since he was a small boy. When he is not chasing elk, deer, bear, and javelina through the diverse Arizona terrain, he is spending time with his wife, daughter, and two herding dogs.