
What is the best way to put on a heavy hunting pack? That depends on the weight of the pack, the terrain, and your physical abilities. While those variables may change from hunt to hunt or person to person, there are also some things that every person should do every time.
In this video, we explain some of the things to consider next time you have to put on a heavy pack. And in the rest of the article below, we cover the "5 L's" that you should think through every time you need to put on a heavy pack.
1) LOAD the Pack Properly
This is the most critical step in the process, and it is first on the list for that reason. Before you think about lifting a heavy pack off the ground and putting it on your body, make sure that you have loaded the pack properly.
When we say "loading properly", we are referring to two main things: all items (gear, meat, weapon, etc) are secure and stable, and that you have done your best to follow good principles of load distribution.
You can watch a video of the pack loading process for a bear head, hide, and meat, which features the exact pack load in the demonstration video above.
For other examples — both good and bad — featuring elk, mule deer, and other animals, see The Right (And Wrong) Way To Load Your Pack.

2) LOOSEN the Pack's Adjustments
With the pack loaded properly, take the time to loosen the hipbelt, shoulder harness, sternum strap, and load-lifters. There are few things more annoying than going through the work to get a heavy pack off the ground and onto your back, but then realizing you can't get your arm in the harness, or that you can't secure the hipbelt in place, because the adjustments are too tight.
As Mark mentioned in the video above, you do not want the adjustment too loose. A good method is to look for a spot in the webbing that visually indicates the normal position where you wear the pack for that specific adjustment point, and then loosen the webbing from that point.
3) LIFT the Pack Off The Ground
The pack is loaded, the adjustments are loosened, and now it is time to get the pack on your back. As shown in the video above, there are several methods that work well, depending on the weight of the pack, the position of the pack, the terrain, and other factors.
Know what works best for you, for the given load and conditions. And if someone is around to lend a helping hand, take advantage of it.

Even in relatively flat terrain, you can often find a small terrain feature or object (rock, down tree, etc) to elevate the pack and allow you to get your body under the load.
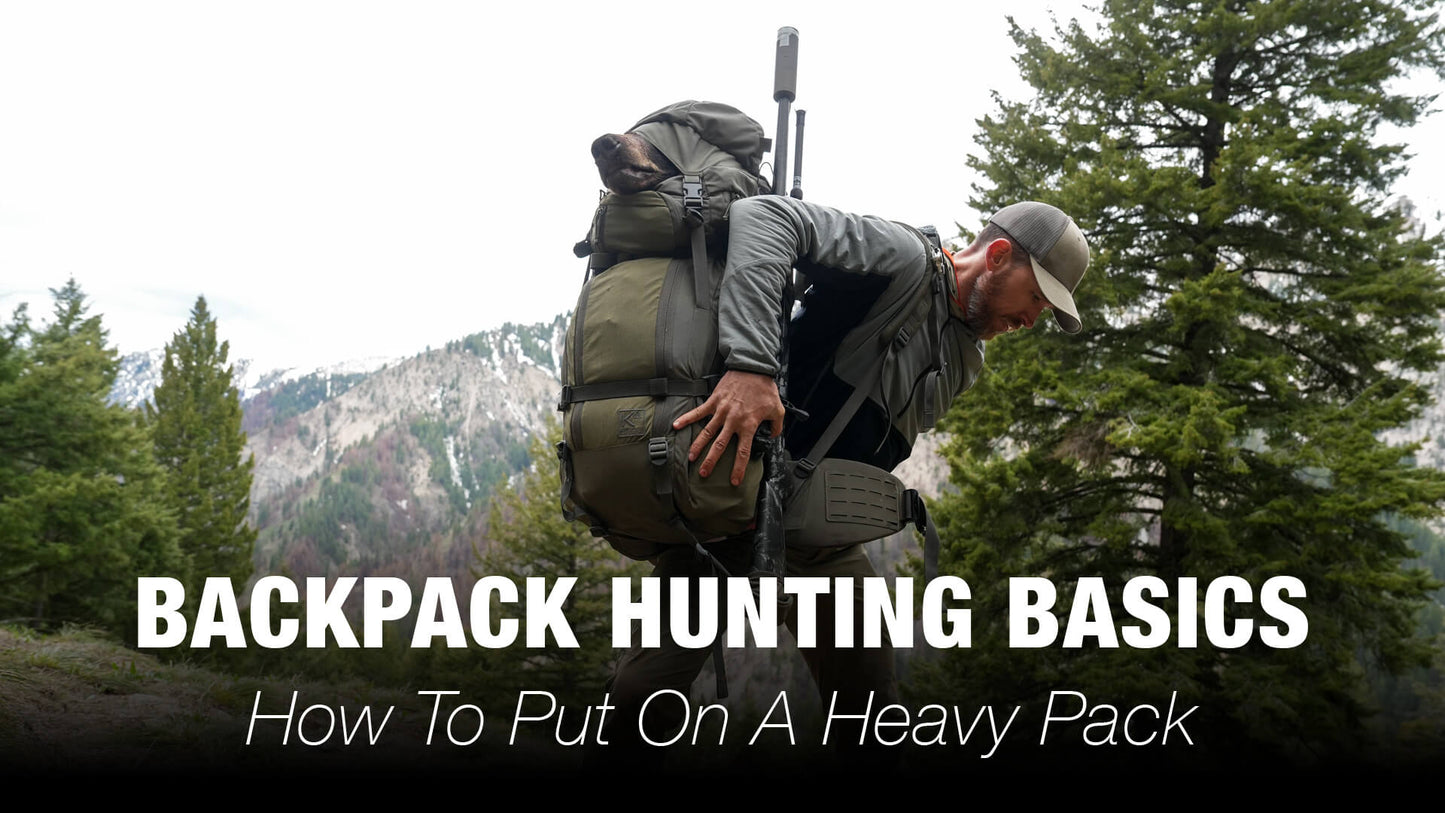
4) LEAN Forward
Before you start pulling on straps, realize that gravity is working against you to achieve a proper fit with your heavy pack.
Whether you have 10 pounds or 100+ pounds in the pack, the placement of the hipbelt is always the first and most important aspect of proper pack fit and comfort. In situations where you have the pack loaded heavy, you have to lean forward and make sure you can get the hipbelt secured in the proper position before you stand upright and fight against gravity.

Mark leans forward and hikes the pack up, ensuring he can get the hipbelt secured over the crest of his hip bones — which is the first and most important step in putting on the pack.
An important note when putting a heavy pack on in sloped terrain: place the pack on the uphill side of the slope when getting in the pack (you will be facing downhill), but turn and face uphill before leaning under the heavy pack. You do not want to be facing downhill and leaning forward under the heavy weight.
5) LOCK-IN the Pack's Adjustments
With the hipbelt secured, you can begin to lock in the other adjustments on the pack. Again, the order of adjustments is important, so after the hipbelt, proceed to the sternum strap, the shoulder harness, and finally, the load-lifters.
Use enough tension to keep the pack secure on your body, but do not pull every adjustment as tight as possible.
Take the same order we just talked about (hipbelt, sternum, shoulder harness, and then load-lifters) and think about that order in terms of the amount of tension to use. The hipbelt requires the most tension. Then the sternum strap and shoulder harness should have a moderate amount of tension. And finally, the load-lifters should have just enough tension to reduce any instability in the pack.

Whether navigating a slippery creek crossing or traversing loose and steep slopes, ensuring that a heavy pack is loaded and fitted properly is a critical aspect of every pack-out.
(We will explain more about fine-tuning adjustments for heavy loads and extended packouts in the next installment of the Backpack Hunting Basics series.)
LOAD, LOOSEN, LIFT, LEAN, and LOCK-IN. If you remember these 5 "L's" each time you need to put on a heavy pack, you will increase your safety, efficiency, and comfort when hiking with a heavy pack.