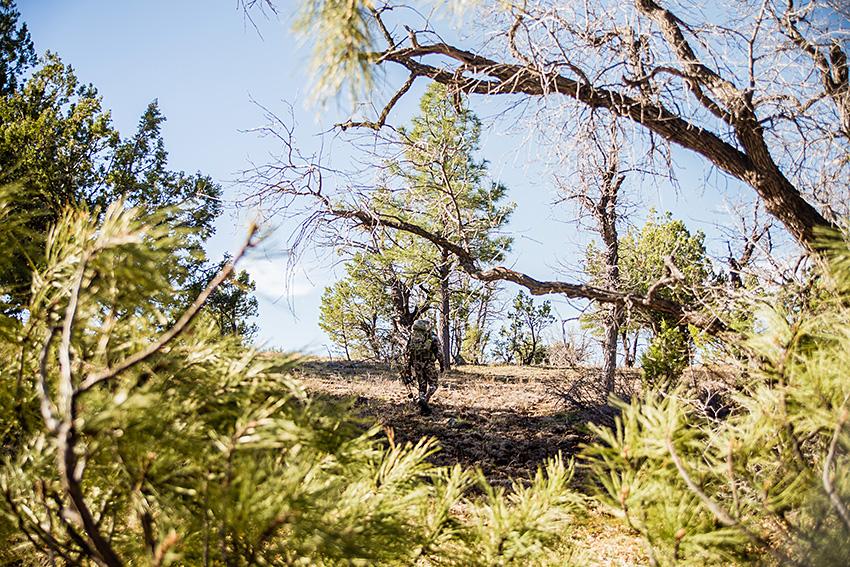
I remember when I was younger, the thought of backpack hunting sounded ridiculous to me. Obviously, this was because of my lack of education on the matter. I distinctly recall telling my hunting partner that I would never get into it. Ah, to be young and know everything. If you have followed along with my adventures, then you know what ended up happening. I, who was once a young know-it-all, ended up turning into someone that CRAVED backpack hunting. It isn’t something that I just dove head-first into though. Gaining the knowledge of just backpacking, not to mention the gear side of things, took quite a while to acquire in its own right. What I want to do here, is lay down a platform that can help you get started in backpack hunting if that is something you have been considering. If you never have considered it, you might want to check out a previous article I published here on the Exo blog: “Why You Should Consider Backpack Hunting”
Gear
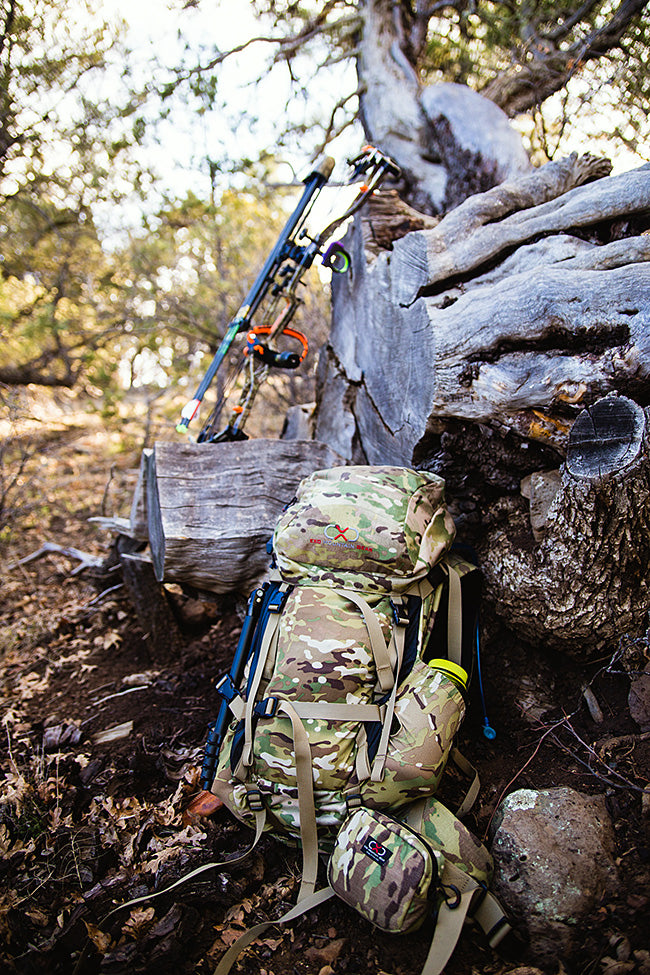
Gear was the area that perplexed me the most when I first got started. How in the world could you fit everything you need for a 5-day hunt in a backpack? It’s a valid question if you are new to backpacking. The best way to start your gear system is to look at gear specifically made for backpacking, not just hunting. You aren’t going to find this specialized equipment at Wal-Mart and, in all honesty, it can get pretty pricey. I just bought things here and there over time when I was starting. Maybe, one month I would buy a sleeping bag. Then the next I would buy a stove and so on. This helps spread the cost out and decreases sticker-shock. Alright, let’s get into specifics, starting with the most important thing you need to pull off a backpack hunt. Give up? It is YOUR BACKPACK!
Backpack
Out of all of the things you will need, this is the thing that you are going to need to test-drive the most, in my opinion. It is a critical piece of gear that will carry your camp into the backcountry and hopefully carry out the buck or bull of your dreams. Try on as many packs as you can with weight added to them. I’d recommend putting around 30-35 pounds in the pack to see how it feels. Everyone is different and what feels good to one, may feel different for another. But don’t just throw on a backpack without adjusting it to your body. You can find videos online about how to properly adjust a backpack to your body type. In regard to size of a backpack, I’ve heard others say 1000 ci for each day you will be out. So, if you are going to be going on mostly 5 day trips, then that would suggest you want a pack with at least 5000 ci. I use an Exo Mountain Gear 3500, which holds much more than the name suggests. I recently pulled off a 7-day elk hunt with that exact pack. It can sound crazy to some, but I assure you, it can be done. Your pack purchase is not something that I would skimp on. I’ve done the “buy a cheap pack” thing. Let me tell you, it is not fun. After coming home so many times and hurting from the pack I was wearing, I ponied up. I suggest you do the same. You won’t regret it.
Tent/Shelter
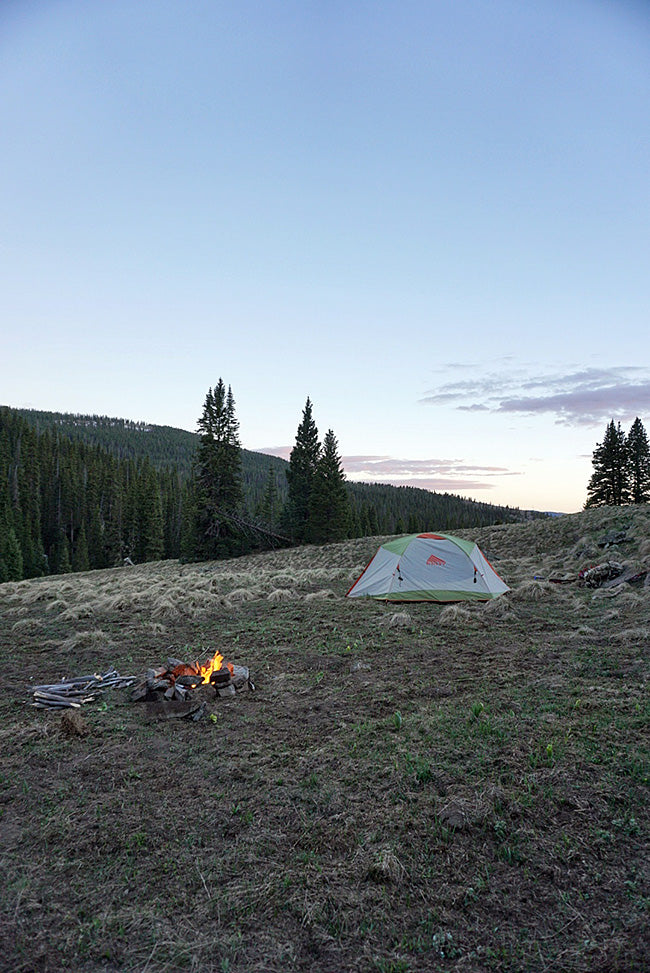
You can go a few different ways here, depending on how lightweight you want to get. You could go with a bivy sack, which is kind of like a coffin type of shelter, or you could go with a tarp or a tent style shelter. I am a tent guy. I like the feeling of being completely closed-in from the mice and creepy crawlies. Just like anything in the backpacking world, the more lightweight, the higher the price tag, so get out there and check some stuff out to see what will work for you.
How many people are going to be going on most of your trips? If you are going to be solo, I’d recommend a 1-man or 2-man tent. I’m going to say get the 2-man, because these tents can get pretty crammed. Getting a 2-man will give you some extra space for your gear, as well as give you the option of bringing someone else along. You better like that person a lot though, because you will be snuggling in a 2-man. I actually bring a 3-man tent when I have a partner along; that 3-man tent seems like the perfect size for 2 people and gives some extra room for gear. If you go this route, I’d suggest breaking up the weight of the tent and having your partner carry the poles and stakes, while you carry the vestibule and tent.
A bivy sack or tarp set up is going to be the lightest option, but it is one that I am ultimately not too familiar with. Some people rave about them, and probably for good reason; I just didn’t like the idea of possibly getting stuck in a bivy sack during a thunderstorm and not being able to get out for fear of getting my sleeping bag and everything else wet inside. There is the option of running both bivy and tarp for that exact reason though. You could set up a tarp over your bivy sack and stay safe from the elements.
Sleeping Bag and Sleeping Pad
Remember, we want to keep our packs as light as we can. There is no reason to pack a zero-degree sleeping bag if it is going to get down to 40-degrees at night during the trip. Ask yourself relevant questions, such as: When are most of your trips going to take place? What is the weather like most of the time? Take all of this into account before you make your purchase. I use a 24-degree down sleeping bag. I like down, because of how lightweight and compressible it is. If it gets colder than that, I will add a liner to the bag. That will effectively make the bag warmer than it is rated. If I am still cold, I’ll sleep in my jacket.
A sleeping pad is probably the thing I overlooked the most when putting together a sleep system. This piece of gear is also essential for keeping you warm. The pad insulates your body heat and keeps you off of the cold ground. At first, I used a foam, roll up Thermarest pad. It got the job done, but let me tell you, they are not made for comfort. My life changed when I switched to an inflatable pad. I suggest getting a pad with an R-value of around 3 or 4, which should be effective for most situations. The R-value refers to how insulated the pad is; the higher the R-value, the warmer it will keep you. You will realize how important getting a good night’s sleep is after you spend a few days on a backpack hunt. A good bag and pad are only going to help you in this department.
Stove/Water Purification
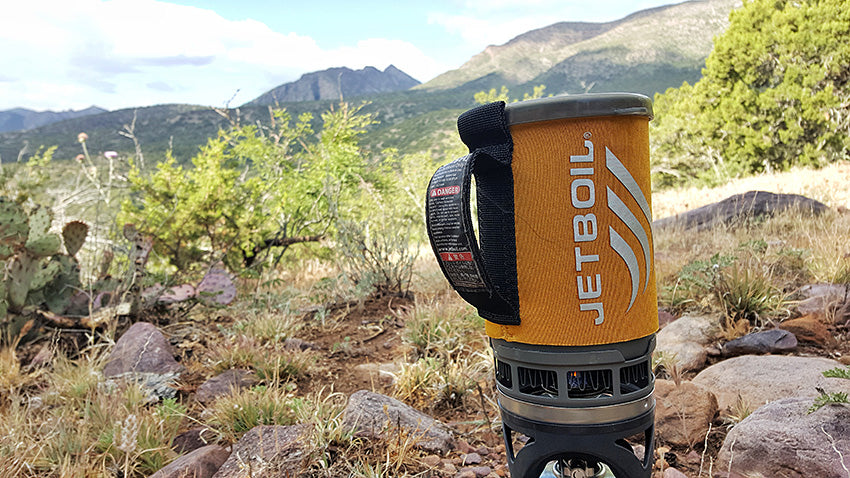
Ok, technically you don’t need a stove. You could eat dry and uncooked food the whole time. But after a long day of hunting and hiking, I REALLY look forward to a hot meal. This cooked entrée helps break up the monotony of protein bars, honey stingers, and bagels. There are quite a few different brands out there, so again, just go check them out to see what you like and what is in your price range. I use Jetboil. It’s an awesome little stove that gets 2 cups of water boiling in about 2 minutes. It’s easy, efficient, and reliable. The same Jetboil has been coming with me on my hunts for the past 2 years. Jetboil stoves are also fuel efficient; I have used one fuel canister of their “jet fuel” to cook food for my brother and I for a week and still have some left over.
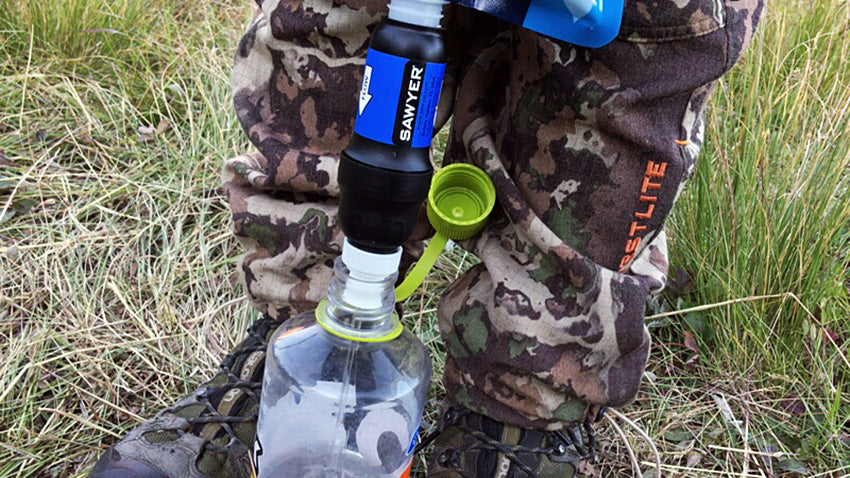
You’ve got a few different options here with water purification. Tablets are the lightest option. Drop some tablets in your water from the stream, creek, river, lake, etc., let them sit for the recommended time and BAM! — you’ve got safe water. The next option is boiling, which will kill anything and everything unsafe in the water. The most popular option for backpackers is probably a pump filter. You literally pump water out of a water source and into your bladder/bottle. It can get a bit taxing with all of the pumping, but it works. I’d obviously rather pump than get sick. On my elk hunt this year, we used a squeeze system made by Sawyer. You fill up a bag with dirty water, attach the filter and squeeze the water out of the bag, through the filter, and into where you want it. Pretty nifty setup.
Physical Fitness
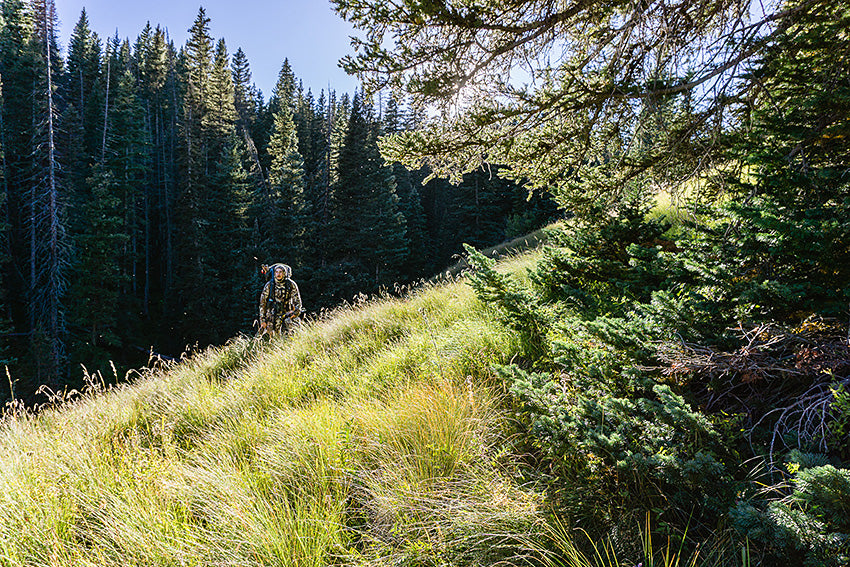
Simply hauling your gear to camp is often physically draining on a backpack hunt, which might leave you exhausted before you even start hunting! For this reason, I think it is extremely important to pay attention to physical fitness before taking on such an endeavor. The best thing that you can do to prepare for a backpack hunt is to put your pack on, add some weight, and start hiking. If you don’t have any trails around your area, bring your pack to the gym and use the treadmill with an incline or hop on the Stairmaster. You could also do step-ups and air squats while wearing your pack. Whatever you decide to do, just be sure to do it and do not take it lightly. You want to be able to make the most out of your hunt, and you can’t find hunting success when you’re hanging around camp because the country is kicking your butt. You don’t have to become a gym rat, but you do have to care and prepare.
Start Small
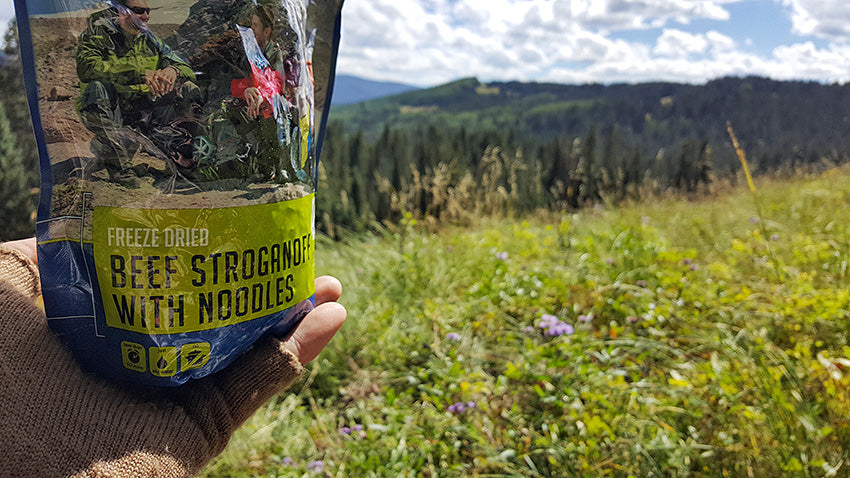
It is important that you start small in the beginning. It probably isn’t a good idea for you to go on a 10-day backpack hunt right out of the gate. You don’t know what it’s like to live out of your pack for that long, or to live in wilderness conditions while trying to hunt. The mental battles of backpack hunting can be just as much of a grind as the physical aspects. When I first started out and got interested in the idea of backpack hunting, I would literally load up my pack, drive up to my spot, and set up camp right next to my truck. I didn’t know what it was like sleeping on a sleeping pad or in a backpacking tent. I had never slept in a mummy style sleeping bag. I never had to hang my food before. Those were the first times I had ever tried out Mountain House meals. Next, I progressed to hiking into a spot and spending just one night and hiking out the next day. It all kept escalating from there and culminated to my first week-long backcountry hunt earlier this year. The more time you spend out there and get the hang of how things work, the more comfortable you will be, which means more time focused on hunting and less on just existing.
Pull the Trigger
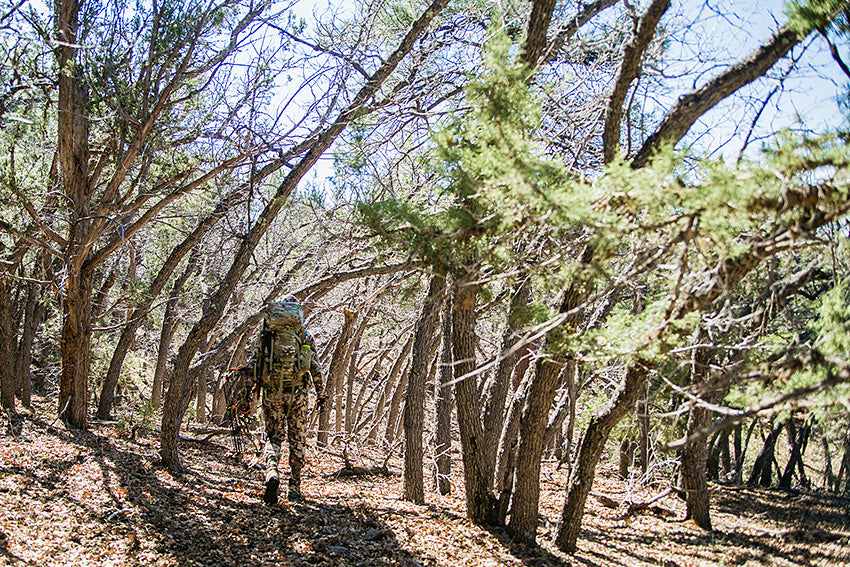
The last tip I am going to give you here, is to pull the trigger and make it happen. It took me awhile to actually get out there and do it. You are the only one stopping you from achieving your backcountry goals, so you need to be the one to cut the cord and start your adventure. Fear of the unknown is completely normal and you shouldn’t let it hinder you. Get the gear, get in shape, and GET OUT THERE!
Josh Kirchner is the voice behind Dialed in Hunter, a blog that not only documents his own journey, but provides gear reviews, tips/tactics for western hunting, and encourages other hunters to chase and achieve their goals. Josh is a passionate bowhunter that has been hunting with his family since he was a small boy, but for the last three years has been eating, sleeping, and breathing the hunting lifestyle. When he is not chasing elk, deer, bear, and javelina through the diverse Arizona terrain, he is spending time with his wife, two herding dogs, and mischievous cat. Connect with Josh on Facebook, Instagram, or Twitter.
