
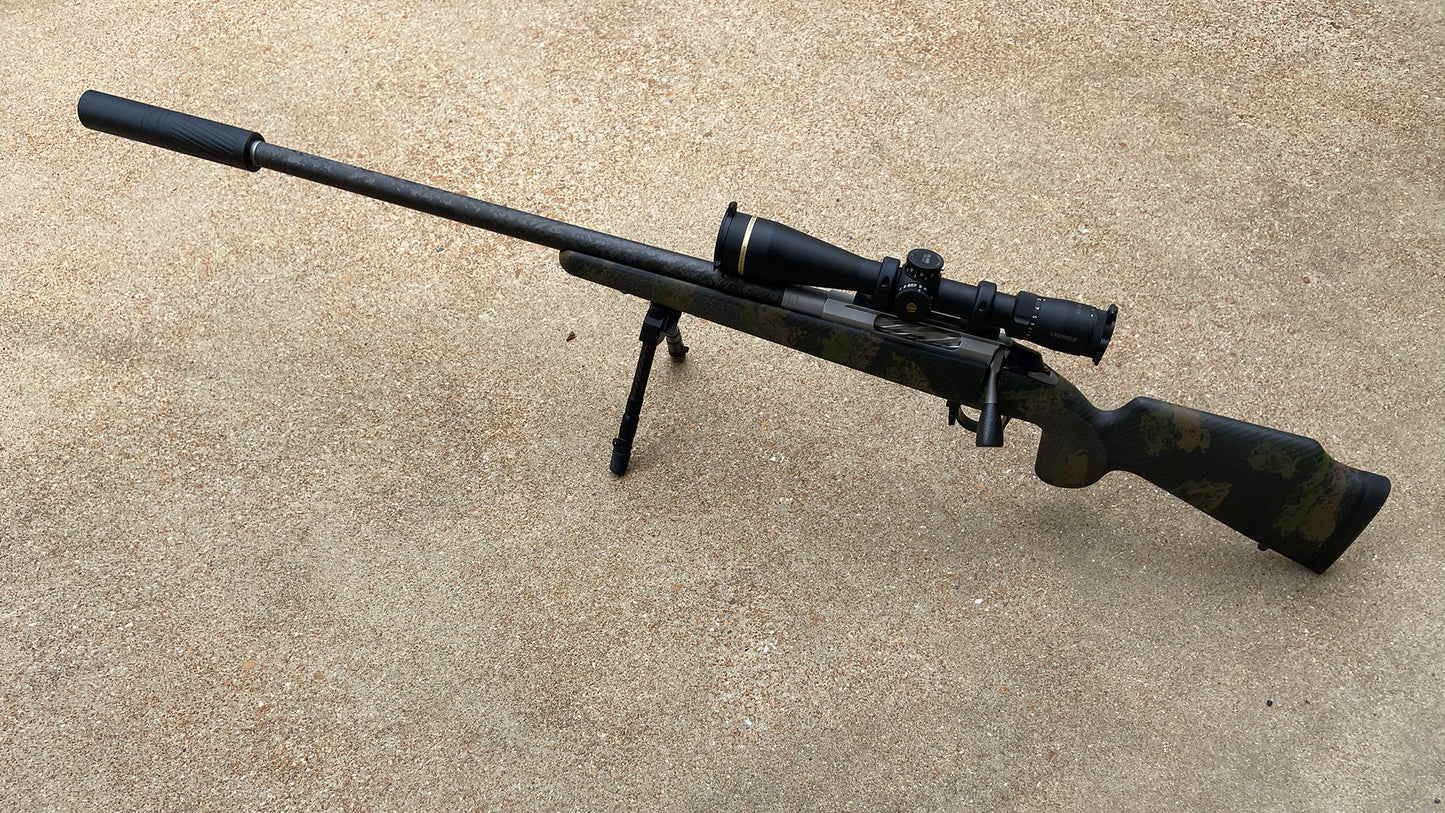
In my previous article, I detailed how I upgraded my factory Tikka T3x, turning it into a "semi-custom" rifle that I absolutely love. If you want the "build list" details of what I upgraded, and why, be sure to read Part 1 — "DIY Backcountry Hunting Rifle Build — Mark's Upgraded Tikka".
(PS — You can still use the code "MESA100" to save $100 on any Mesa Precision Altitude Stock purchase. Those stocks are offered for Tikka actions, as well Remington 700 and 700-based actions.)
I concluded that article by mentioning I had re-barreled my Tikka with a Proof pre-fit carbon barrel — in part, because of my incoming Thunderbeast Ultra 7 Suppressor. Now that I have had a chance to break the barrel in, do some load development for it, and also shoot the suppressor, I wanted to share what I have learned and experienced since the first article.
Proof Research Pre-Fit Barrel
There's no denying the "cool factor" of a carbon barrel. They look great, to be sure. But at my core, I prefer function over form. So how does the Proof barrel shoot?
To begin with, Tikka rifles are known for being very accurate. I never had problems hitting where I was aiming with the factory barrel. And given that this is a hunting rifle and not a match gun, I wasn't starting with a rifle that necessarily needed more accuracy. After all, I am typically the weak link in my shooting system, not the equipment. But more accuracy inspires more confidence. And more accuracy is exactly what I got.

I'm not a group shooter and I hate shooting from a bench. But groups like the one you see in the photo above have become normal results when I am doing my part. I shot that group as my first three "warm up" shots on my latest range trip, while laying prone and shooting off of a bipod at 100 yards. I don't want to say these results are effortless, but I will say that this rifle makes me look like a much better shooter than I really am.
I have also found that, compared to the factory barrel, I am getting higher velocities on average with the same ammunition. I haven't done any side-by-side testing, of course, as I don't have the factory barrel to compare to directly — but given my previous data and speeds recorded with the factory barrel, the Proof pre-fit barrel is showing a bump in speed for nearly every load I have data on. The barrel hasn't turned my 30-06 into a super magnum cartridge, and I'd never expect it to, but if I can get more speed while maintaining better accuracy, I'll take it.
I have also found the Proof Research barrel to be far from picky regarding what ammunition it likes. I have tried a variety of factory hunting loads, cheaper ammunition for practice, and experimented with several bullets and powders in my handloads, and this barrel just flat-out shoots whatever I feed it.
The photo below is two separate groups (suppressed and non-suppressed) with a budget-friendly factory offering from Fiocchi. Normally, I wouldn't expect side-by-side, roughly half-MOA groups from ammo like this...

As part of "the industry", I can purchase Proof barrels with an industry discount. However, when I needed a new barrel for a different rifle build recently, Proof didn't have the barrel I needed on-hand and available for the discount. Still, I went online and paid full price from a Proof dealer that had the barrel I needed in-stock. Even though I can get a discount on Proof barrels, I was happy to pay full price for the quality and performance of the product. That should let you know how I feel about their barrels.
The Thunderbeast Ultra 7 Suppressor
Those two groups above show the change in point-of-impact that I got when shooting my rifle with and without the suppressor. I was very curious to see how adding the suppressor would change my point of impact, velocity, and overall shooting experience with the rifle.
I was also very eager to see how repeatable the suppressor was in point-of-impact shifts when taking the suppressor on and off. The point of impact shift is easy to account for by setting a new "zero" on your scope, but if the point of impact shifts every time you take the suppressor on and off, that's going to be a massive problem for me as a traveling hunter.
In this quick video, I document my findings and answers to those questions...
Quick Recap
- The point-of-impact shift is just over 2" (lower) when shooting with the suppressor on this rifle
- The repeatability when removing and reinstalling the suppressor is excellent
- There's been no discernible change in accuracy with the suppressor on this rifle
- I am losing about 10fps when shooting with the suppressor on this rifle, with the loads I have tested so far
I'll be doing a lot more work with the suppressor in the future, and also testing it with other rifles, so it will be interesting to see how each rifle responds to shooting with it.
So how quiet is the rifle? Well, it isn't as quiet as Hollywood would want you to believe. There is still the supersonic "crack" of the bullet breaking through the air, but the overall noise reduction is significant. I can shoot this 30-06 with no hearing protection and not experience any ringing in my ear.
Something I didn't realize until I started researching suppressors, though, is that the decreased sound is only part of the benefit of shooting with one.
Because a suppressor traps some of the gasses that normally escape the barrel immediately, the recoil impulse of shooting suppressed and non-suppressed is wildly different. There's less recoil shooting with the suppressor, and the type of recoil that remains has a much different feel. Because there is less recoil in general, and the recoil that remains is much more of a "push" than a "snap", there is less muzzle rise when shooting suppressed, which means it is far easier to spot impacts and stay on target for follow-up shots when shooting with a suppressor. That is a huge benefit for the hunter.
If you want to hear more about hunting with suppressors, learn about the process for legally getting a suppressor, and also know how to select the right type of suppressor for your needs, be sure to check out our podcast with Zak from Thunderbeast Arms.

Load Development with Hammer Bullets
Since you have seen some of my loads with Hammer Bullets in action, in the photos and videos above, I thought I'd share a bit about my experience with load development with those Hammer Bullets.
I did a ton of reading and research about Hammer Bullets before I ever reached out to Steve about getting him on the podcast. You can listen to that episode here: Hunting With Hammers.
One of the things that came up over-and-over again in my research about Hammer Bullets was just how easy they are to develop a load with. To be honest, it sounded too good to be true. Supposedly, the process was as simple as this...
1) Find a suitable powder for the cartridge, based on recommendations from Hammer or other reputable sources, and load 8-12 rounds with incremental charge weights to find pressure signs.
3) Load several rounds with a charge weight of that is a half to a full-grain below where you hit pressure, and shoot for a group to verify accuracy.
That's exactly what I did. I hit slight signs of pressure at 57g of H4350 and definitive signs of pressure at 57.5g. I decided to load some test rounds at 56g and this is the first-ever group I shot with Hammer Bullets...

Too easy.
I have shot quite a bit of this Hammer Load since then, including in the photos/videos you see above, and the results are consistently well below MOA-sized groups. Usually, half-MOA groups when I am shooting from a field position that allows me, as the shooter, to hold that type of accuracy.
I can't speak to the terminal performance of Hammer Bullets... yet. But I will be sure to test the Hammer Bullets on some animals later this year.

Mark Huelsing is the host of the Hunt Backcountry Podcast and works at Exo Mtn Gear — though he's never been able to figure out his job title. Connect with Mark by sending him an email (mark at exomtngear.com) or connecting on Instagram, @MarkTheFark.